How I built this amazing minimal blog.
Simple, I stole it from here.
It's actually not that simple though. Building a website requires knowledge with quite a few things that make the internet work. If you have a few years of web development experience, I hope you will appreciate the effort that goes into it. And in case you are not into programming, try not to freak out on the nerdy bits. You'll get used to it, all this is simple stuff for an average web developer.
So we start with the domain. I originally bought this domain, jindam.in in 2018 thinking I'll have my own website someday. It took me years to take documenting and publishing my work seriously, and a lot of inspiration from Varun Duggirala's advocacy about the publisher mindset on his podcast "advertising is dead" to finally do this.
My expectations from this website were quite simple.
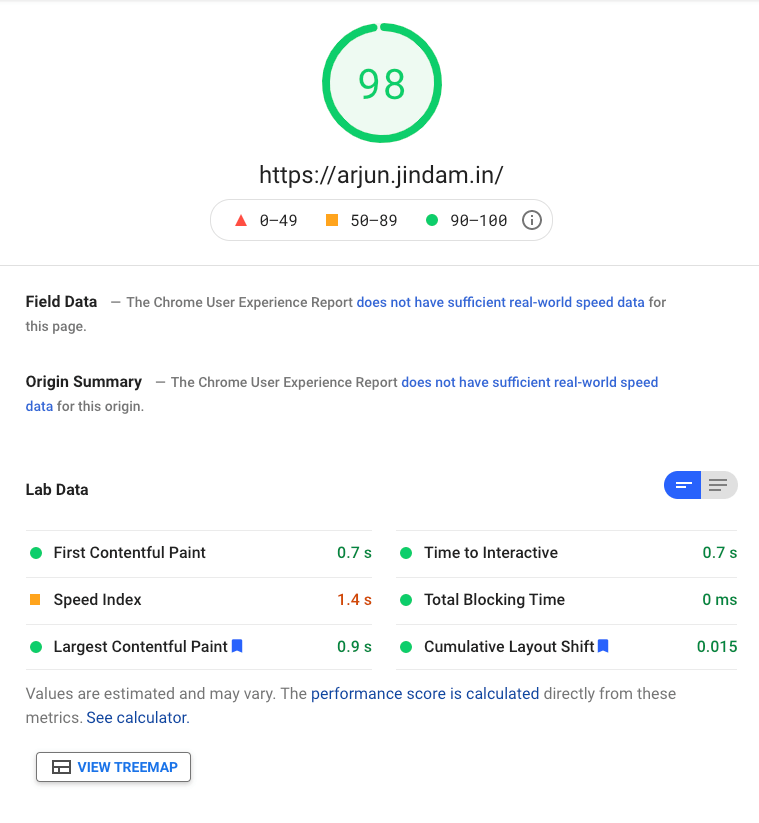
- I want the website to be fast. like sub second response times for every page.
- hosting needs to be as cheap as possible (read free) and as fast as possible.
- i dont want to run a heavy cms like wordpress, or sign up for a service. I'm a coder and I know my shit, I want it to be as customisable as possible.
- publishing process needs to be as simple as creating a document, in markdown for example, and pushing to master branch should publish it.
- website should have a staging environment where I can read my drafts before publishing.
- I want the tech stack I use to be as new as possible so I can get some learning out of this experience.
- I want to have customisability on some special posts. (Think interactive media between posts)
As any sane coder would do, I started scouring github for repositories that fit my requirements. I figured a few biases that I wanted to cater to. I wanted the project to be in reactjs, since it had been a while I wrote anything in react. Last I remember, I stopped writing reactjs when hooks were released. I know, it's been a while. I also wanted to use tailwind css and Nextjs. Nextjs because I love that sweet sweet SSR. Takes the pain out of SEO, and reduces FCP times as well.
Now for the CMS part, I wanted to use markdown files, but this certainly does not fit the requirements since I wanted customisability in every blog post where I plan on making interactive widgets etc between posts. Like this for example.


Click away! (Source)
Now it got me thinking, if it's possible to make markdown work with jsx somehow ? Like maybe inject jsx components between markdown using some tags. Turns out, the opposite is quite possible. Writing markdown with jsx. A few google searches later, I finalised on https://mdxjs.com/
I started checking out repositories on github, for a starter repo with most of this boilerplate in place. (I'm a talented lazy ass okay, I prefer to deliver on the shoulders of giants) Big ups to Timothy Lin for sharing his work. He saved me at least a couple of days in work.
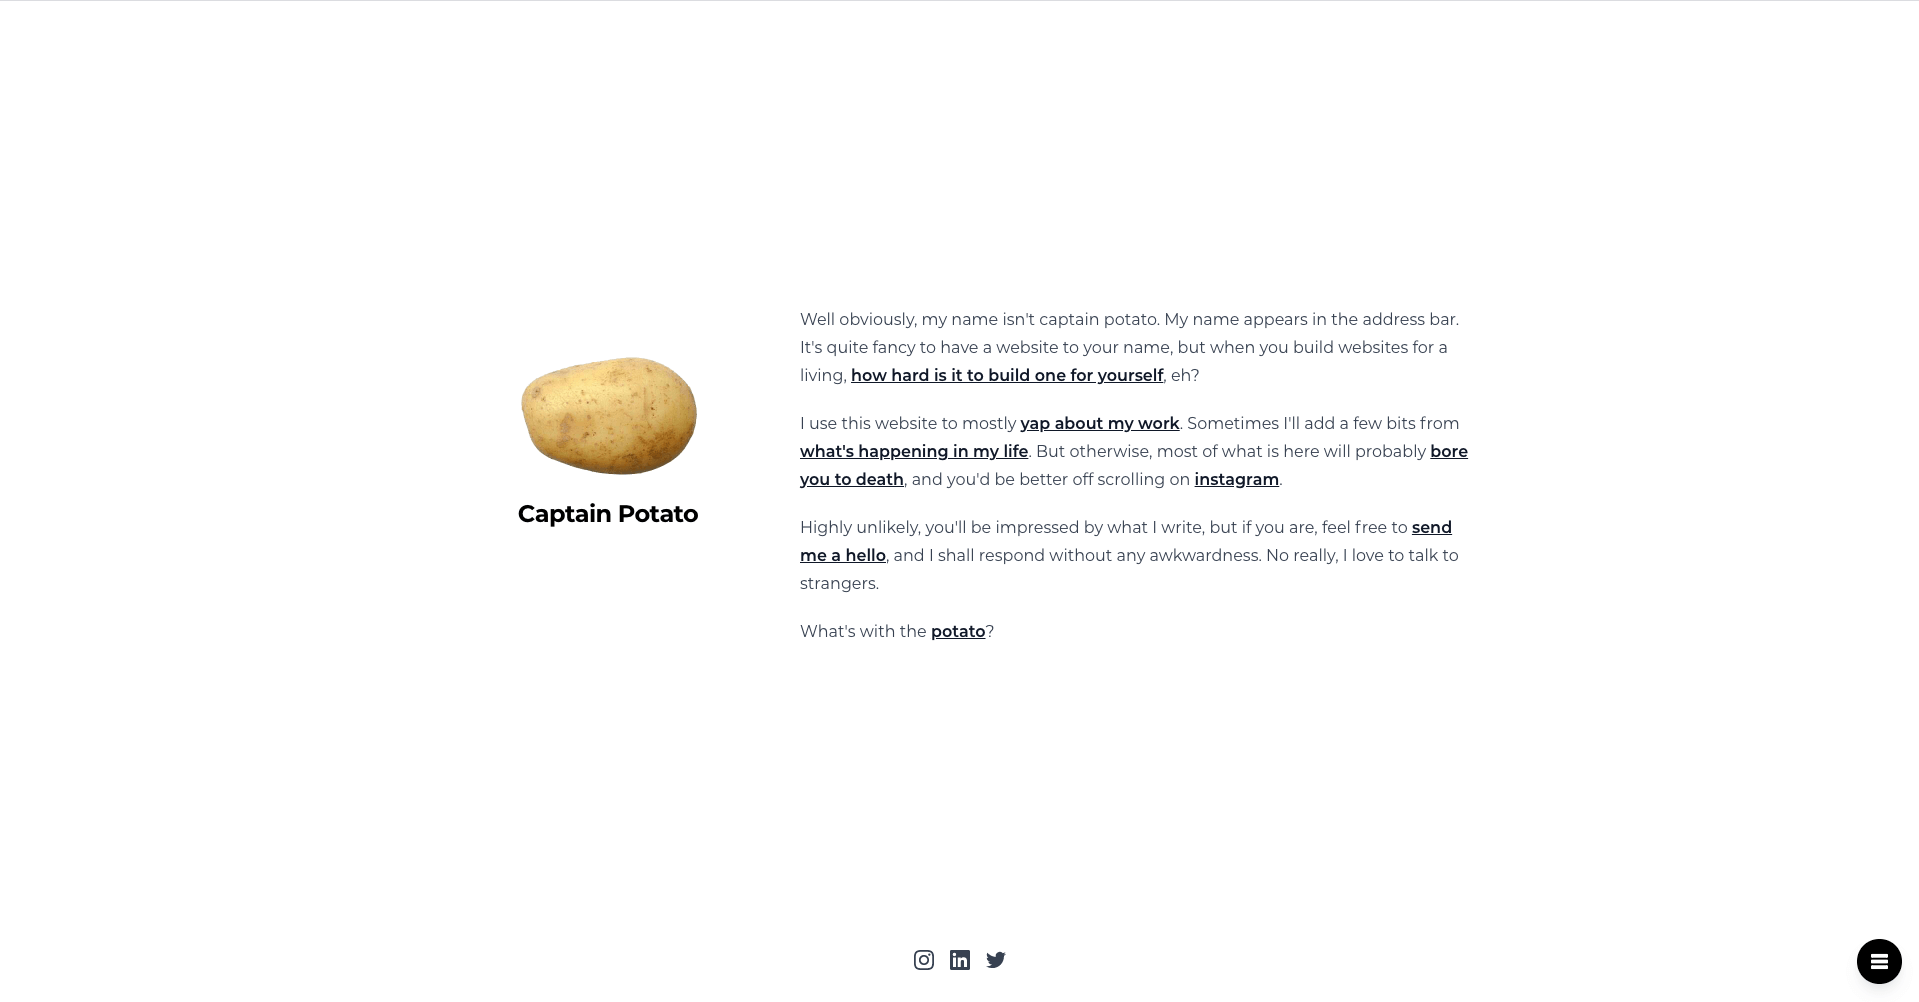
I spent some time playing around with CSS, creating a new full page menu and a layout as simple as https://adamwathan.me/ (This guy is actually the founder of tailwind css) I love his work. And his blog. And once I had the homepage that I wanted, and the site looked pretty neat on local, I moved to the deployment part.
Because I'm hosting my repository on Gitlab (Gitlab is way better than github) I have a bunch of free CI/CD minutes that I can use. And if I want to use more minutes, I have a runner software provided by gitlab that I always keep running for all my repositories. (Free CI/CD yay!) And yeah, fuck jenkins. Provision a server to deploy? Who does that?
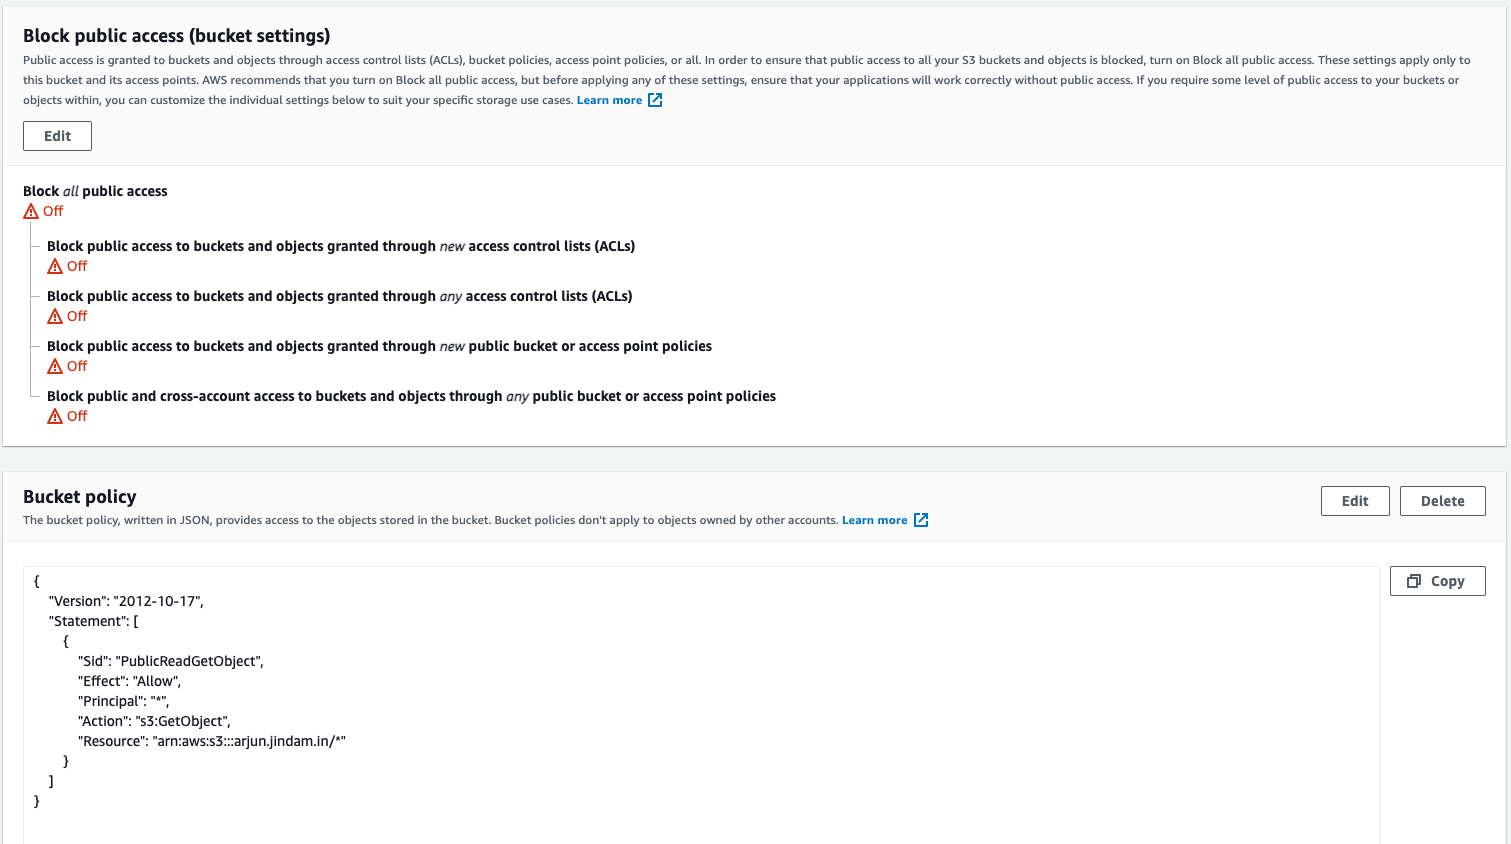
Next, I set up a script to export the nextjs website, generate bundles with webpack (mostly taken care of by Timothy, thanks man!) and dump this exported directory on an S3 bucket I created on the free tier provided by AWS. And even when the free tier expires, hosting a static website on S3 will cost me pennies. I set the bucket to public, enabled public website mode, and went to town with the new staging link.
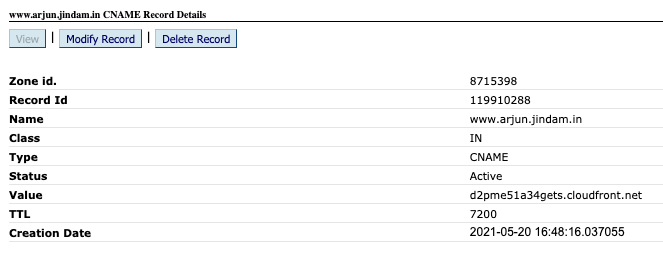
Now that the staging links work, all I needed to do, was to connect this S3 bucket to CloudFront. Website on a CDN \m/ Who would have thought that in 2009, that you could host entire websites on a CDN if you wanted to. SSLs were generated using ACM (free) and I created a CF distribution. This is what the distribution url looks like. https://d2pme51a34gets.cloudfront.net/
Now that I have the distribution URL, all I have to do is to set up my CNAME records to the distribution url that we have received from CF. Once the records have propagated, the website starts loading on arjun.jindam.in
And there you are, 45+ hours of effort and about half a million google searches later, now thinking, what should you write as your first post on the blog. And since, I could not think of anything else but how much time it takes to put together a website, so I wrote this post.